
WELCOME TO JMS EXPRESS PLUMBING
Free Express Plumbing Quote
Get a free quote on any plumbing service
Enjoy peace of mind knowing your plumbing is in expert hands
100% satisfaction guaranteed
Trusted Plumbing Experts in Los Angeles
Sewer, Drain, Gas, Water Heaters & Repiping
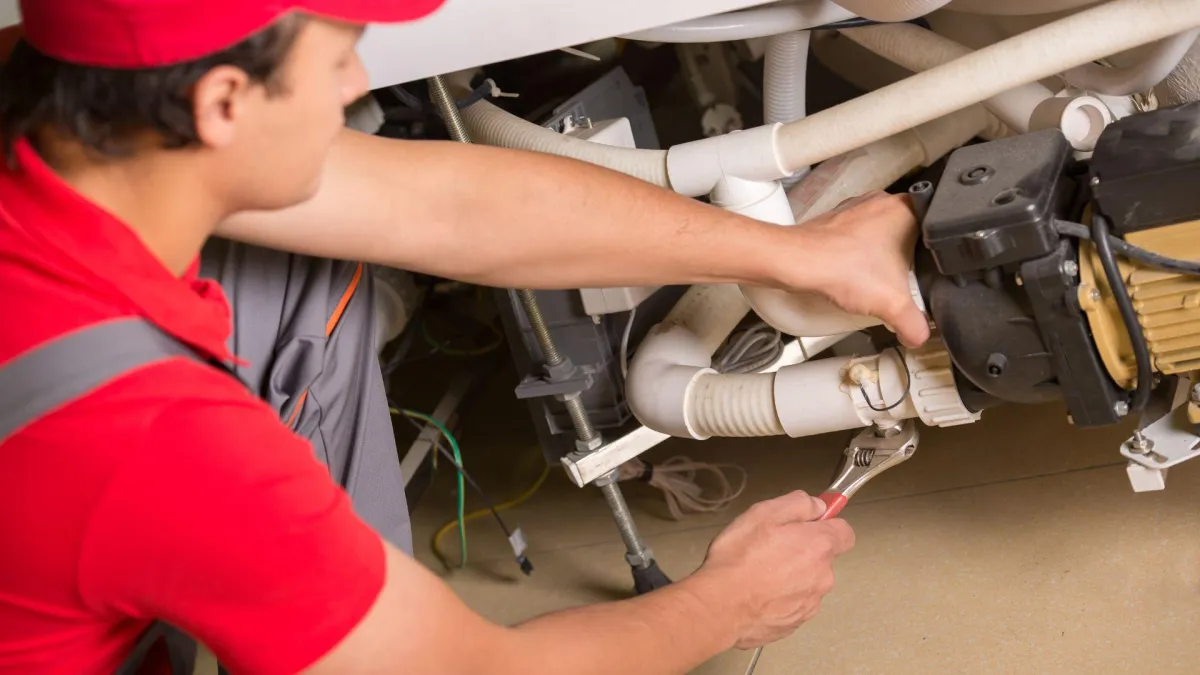
Fast, reliable, and professional plumbing services across Los Angeles, CA. From clogged drains to main sewer line repair, JMS Plumbing is your go-to team for expert solutions.
WELCOME TO JMS EXPRESS PLUMBING
Need A Plumber?
Text Us For A Quick Response
(323) 642-3925
WELCOME TO JMS EXPRESS PLUMBING
Trusted Plumbing Experts in Los Angeles
Sewer, Drain, Gas, Water Heaters & Repiping
Fast, reliable, and professional plumbing services across Los Angeles, CA. From clogged drains to main sewer line repair, JMS Plumbing is your go-to team for expert solutions.
Need A Plumber?
Text Us For A Quick Response
WELCOME TO JMS EXPRESS PLUMBING
Request for a Free Express Plumbing Quote
Get a free quote on any plumbing service
Enjoy peace of mind knowing your plumbing is in expert hands
100% satisfaction guaranteed
WELCOME TO JMS EXPRESS PLUMBING
Need A Plumber In Los Angeles?
Request for a Free Express Plumbing Quote
Get a free quote on any plumbing service
Enjoy peace of mind knowing your plumbing is in expert hands
100% satisfaction guaranteed
WELCOME TO JMS EXPRESS PLUMBING
Need A Plumber In Los Angeles?
Request for a Free Express Plumbing Quote
Get a free quote on any plumbing service
Enjoy peace of mind knowing your plumbing is in expert hands
100% satisfaction guaranteed
you deserve the best
Hassle-Free
Plumbing Services
Plumbing issues can turn your home into a source of stress instead of a sanctuary. With JMS Express Plumbing, you avoid the nightmares of leaks, clogs, and inconsistent water temperatures that disrupt your daily life. Choosing us means transforming your space into a worry-free zone where plumbing problems are swiftly and effectively resolved. Imagine the relief of knowing your plumbing is in the hands of experts who ensure your comfort and safety above all. We're not just fixing pipes; we're restoring your peace of mind and comfort.
The JMS Difference

Expertise You Can Trust
With over 20 years of serving the LA area, our family-owned business brings unparalleled knowledge and skill to every job.
On-Time & Dependable
We value your time. Our team is always punctual, ensuring that your plumbing needs are addressed promptly and efficiently.
Transparent & Fair Pricing
No hidden fees, no surprises. We offer honest, competitive pricing, making quality plumbing accessible to all.
Satisfaction Guaranteed
Our dedication to your satisfaction is unwavering. We listen, we care, and we strive to exceed your expectations with every service.
Our Services
We offer a broad spectrum of high-quality plumbing services to meet every need of our residential and commercial clients. From urgent repairs to routine maintenance, our team is equipped to handle it all with professionalism and care. While we specialize in the services listed below, our capabilities extend to gas line repairs, sewer services, water heater installations, and more.
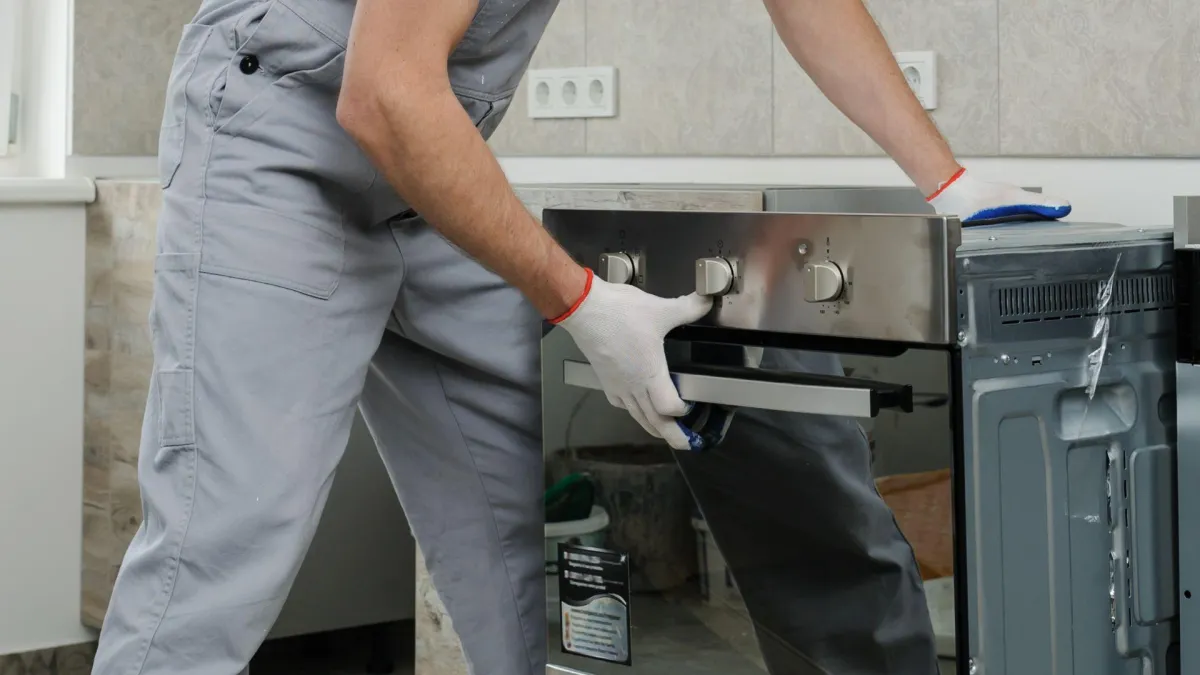
Appliance Installation
Our commercial plumbing services are designed to address the unique needs of businesses, ensuring minimal disruption and optimal operational efficiency. We understand the importance of a reliable plumbing system in commercial settings and offer everything from routine maintenance to emergency repairs, helping businesses avoid costly downtime and maintain a healthy, safe environment for employees and customers alike.
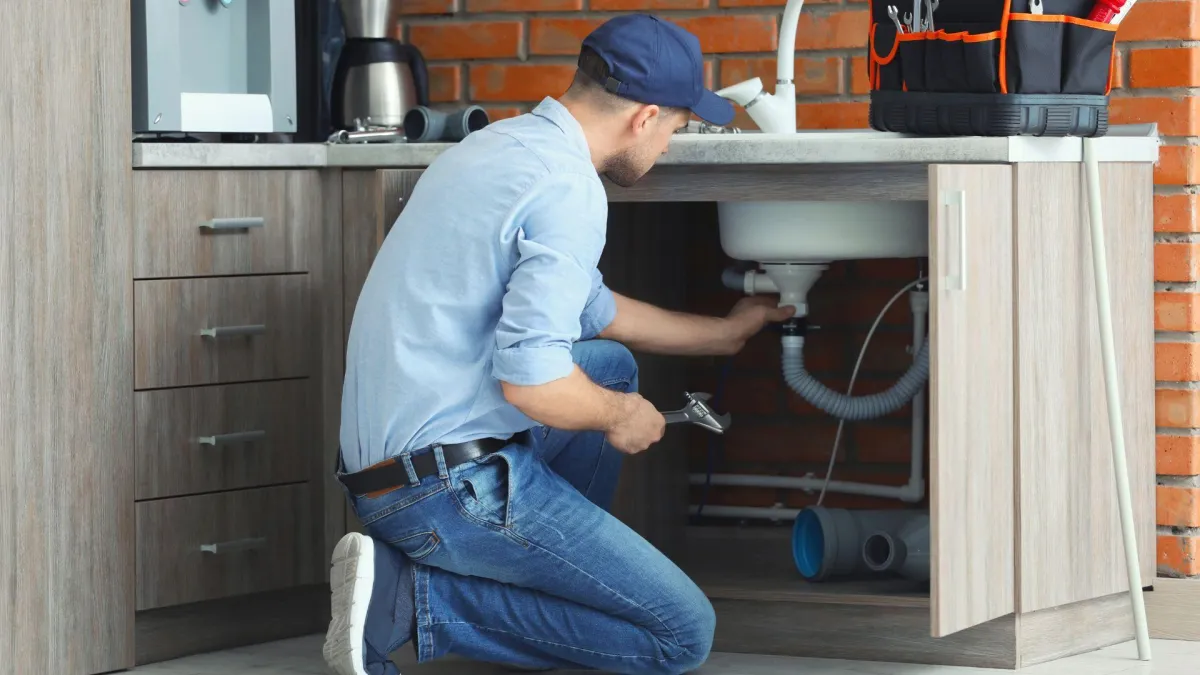
Bathroom Plumbing
A clogged drain can cause a multitude of problems, from unpleasant odors to water damage. Our comprehensive drain cleaning services are here to eliminate blockages, prevent future issues, and maintain the health of your plumbing system. Using the latest technology and techniques, we ensure your drains are thoroughly cleaned, offering a long-term solution to keep water flowing smoothly and efficiently.

Commercial Plumbing
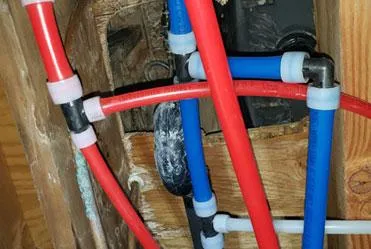
Whether you're dealing with aging pipes that need replacement or a sudden leak that requires immediate attention, our pipe repair and installation services cover all bases. We specialize in diagnosing issues quickly and implementing durable solutions, from patching leaks to completely overhauling your piping system. Our goal is to enhance the integrity of your plumbing, ensuring it stands the test of time.
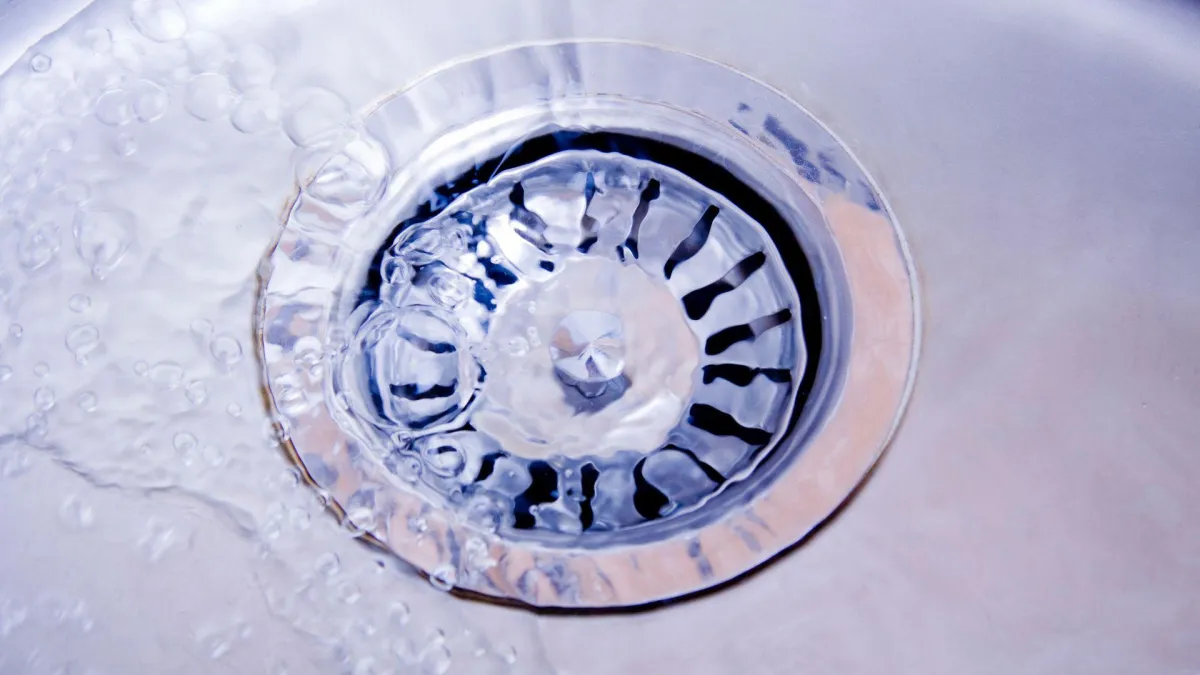
Drain Cleaning
Our commercial plumbing services are designed to address the unique needs of businesses, ensuring minimal disruption and optimal operational efficiency. We understand the importance of a reliable plumbing system in commercial settings and offer everything from routine maintenance to emergency repairs, helping businesses avoid costly downtime and maintain a healthy, safe environment for employees and customers alike.
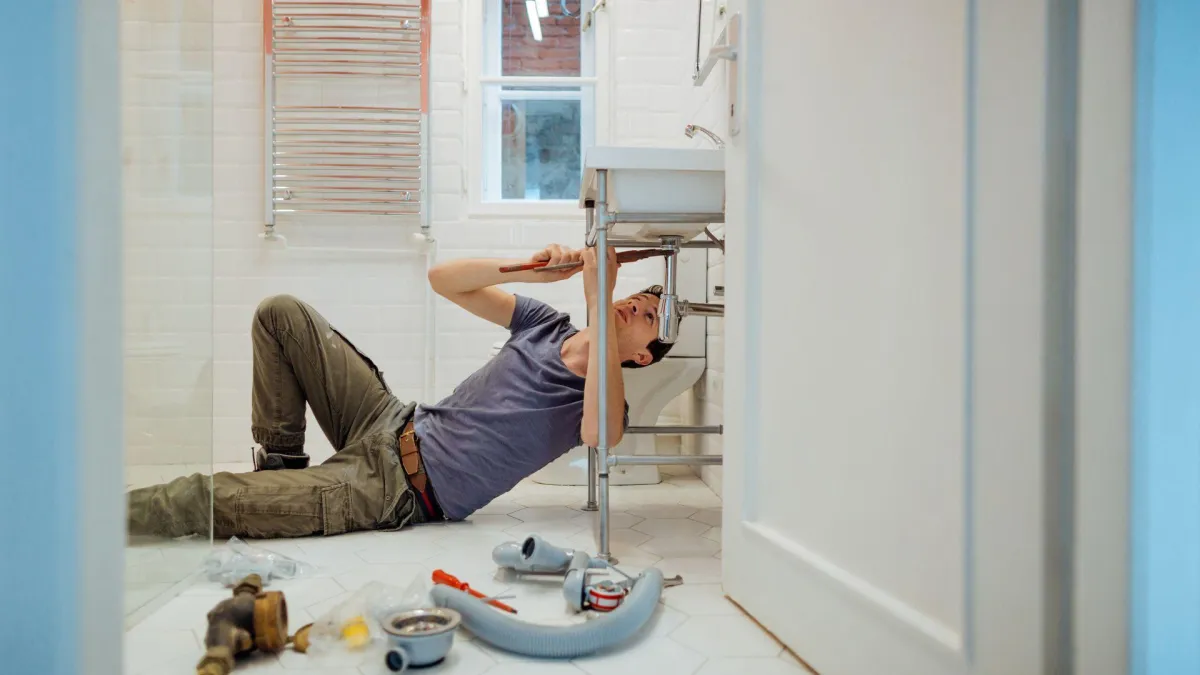
Leak Detection
A clogged drain can cause a multitude of problems, from unpleasant odors to water damage. Our comprehensive drain cleaning services are here to eliminate blockages, prevent future issues, and maintain the health of your plumbing system. Using the latest technology and techniques, we ensure your drains are thoroughly cleaned, offering a long-term solution to keep water flowing smoothly and efficiently.
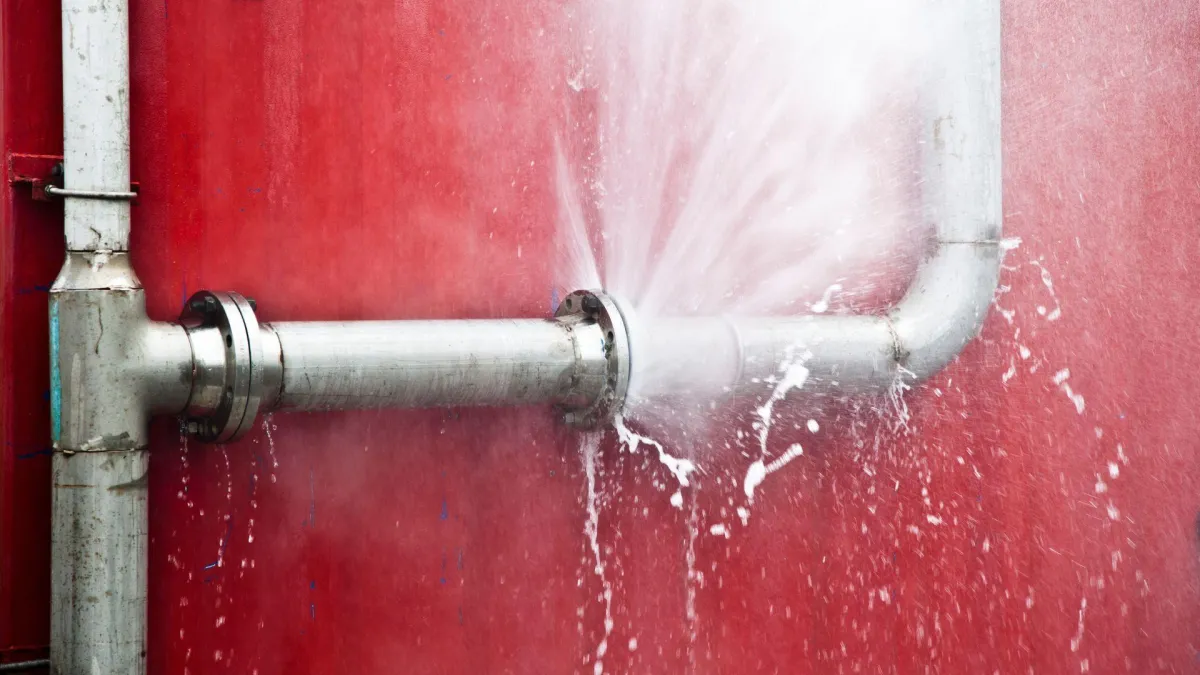
Pipe Repair & Installation
Whether you're dealing with aging pipes that need replacement or a sudden leak that requires immediate attention, our pipe repair and installation services cover all bases. We specialize in diagnosing issues quickly and implementing durable solutions, from patching leaks to completely overhauling your piping system. Our goal is to enhance the integrity of your plumbing, ensuring it stands the test of time.
Sewer Repair
Our commercial plumbing services are designed to address the unique needs of businesses, ensuring minimal disruption and optimal operational efficiency. We understand the importance of a reliable plumbing system in commercial settings and offer everything from routine maintenance to emergency repairs, helping businesses avoid costly downtime and maintain a healthy, safe environment for employees and customers alike.
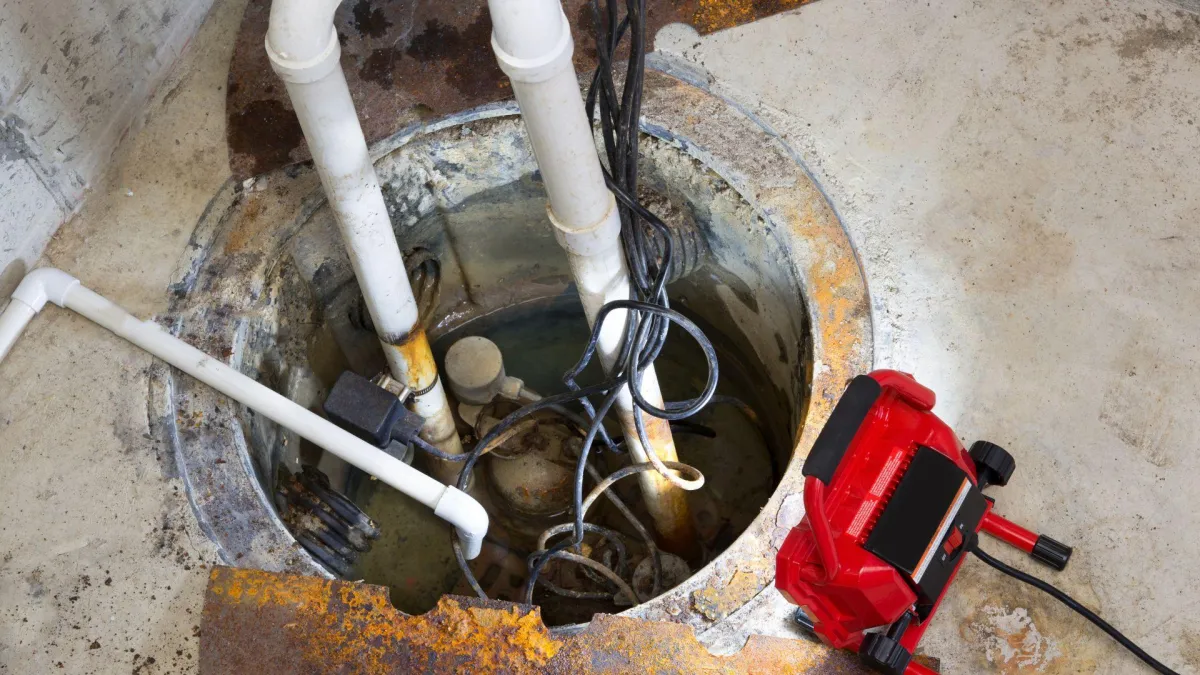
Sump Pumps
A clogged drain can cause a multitude of problems, from unpleasant odors to water damage. Our comprehensive drain cleaning services are here to eliminate blockages, prevent future issues, and maintain the health of your plumbing system. Using the latest technology and techniques, we ensure your drains are thoroughly cleaned, offering a long-term solution to keep water flowing smoothly and efficiently.
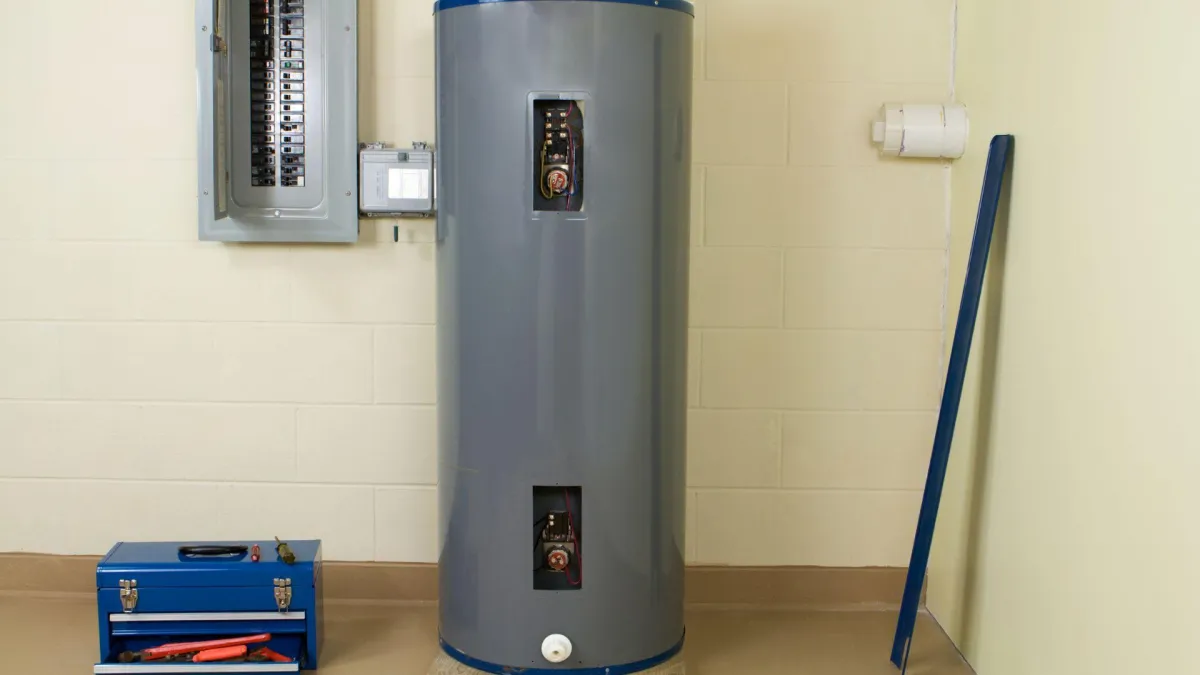
Water Heater Installation & Repair
Whether you're dealing with aging pipes that need replacement or a sudden leak that requires immediate attention, our pipe repair and installation services cover all bases. We specialize in diagnosing issues quickly and implementing durable solutions, from patching leaks to completely overhauling your piping system. Our goal is to enhance the integrity of your plumbing, ensuring it stands the test of time.
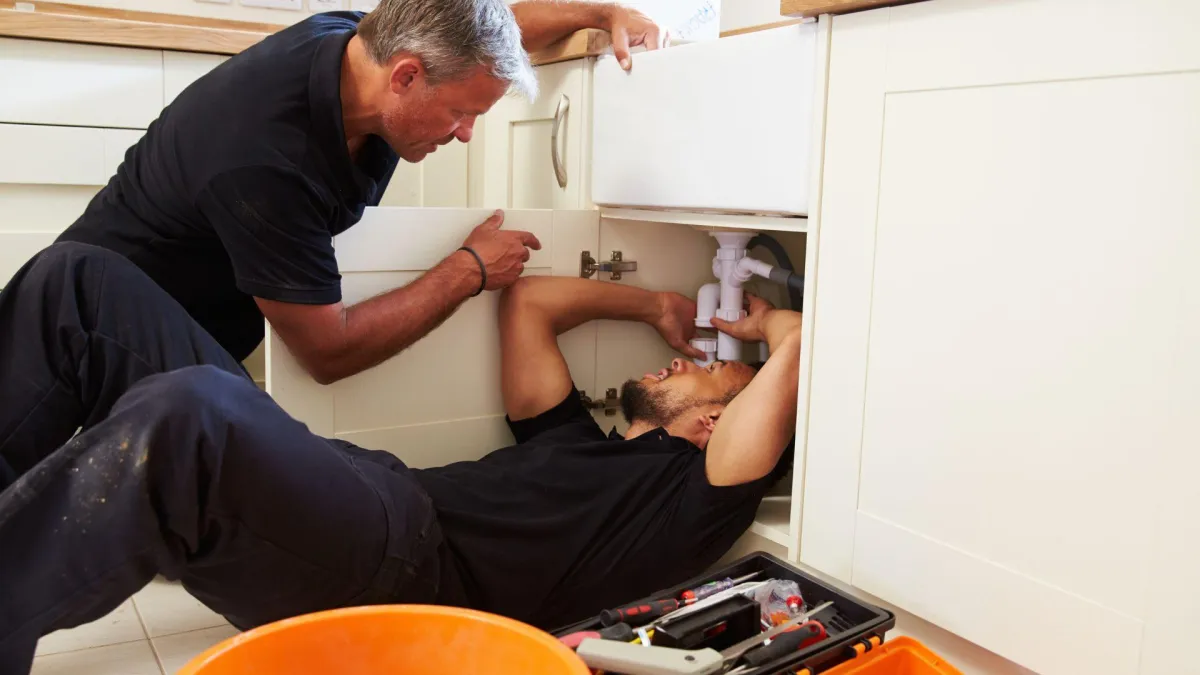
Plumbing Services
Our general plumbing services are the backbone of what we do, covering everything from fixing leaky faucets to adjusting water temperatures and installing new fixtures. We approach each task with the same level of dedication and precision, ensuring that every aspect of your plumbing meets our high standards. Whether you need a quick fix or a comprehensive inspection, our team is equipped to handle your plumbing needs with expertise and efficiency.
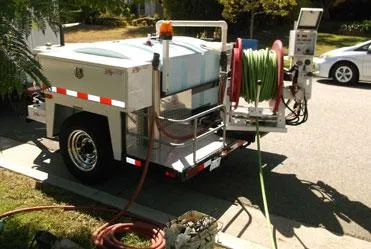
Rooter Services
Tough blockages require powerful solutions. Our rooter services are designed to tackle the most stubborn clogs and obstructions, including root intrusion and built-up debris in your sewer lines. Utilizing advanced rooter technology, we can quickly identify and remove blockages, restoring proper flow and preventing potential backups. This service is essential for maintaining the health and functionality of your sewer system, ensuring it operates smoothly for years to come.
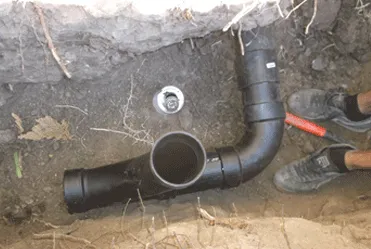
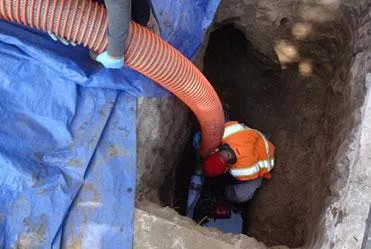
Trenchless sewer line repair
Tough blockages require powerful solutions. Our rooter services are designed to tackle the most stubborn clogs and obstructions, including root intrusion and built-up debris in your sewer lines. Utilizing advanced rooter technology, we can quickly identify and remove blockages, restoring proper flow and preventing potential backups. This service is essential for maintaining the health and functionality of your sewer system, ensuring it operates smoothly for years to come.
JMS Express plumbing
Your Go-To Plumbing Experts
in Los Angeles
JMS Express Plumbing is a family-owned business with over 20 years of experience serving the Los Angeles area. Our commitment to building lasting relationships with our clients is at the heart of everything we do. We offer a wide range of residential and commercial plumbing services, from gas and liner repairs to hydro jetting and earthquake shutoff valves. Our team is always on time, clean, and professional, ensuring that every job is done right the first time. We serve areas including but not limited to Woodland Hills, Sherman Oaks, and Beverly Hills, positioning ourselves as the experts who guide our clients through any plumbing challenge.
What Our Customers are Saying...
Hassle-Free Plumbing Solutions in 3 Easy Steps
1
Click below to claim your special offer for a Free Quote
2
Receive your Free Quote
3
Sit back while we solve all of your plumbing issues
Service Areas
Horem ipsum dolor sit amet, consectetur
Lasting Plumbing Solutions
At JMS Express Plumbing, we're not just fixing leaks and unclogging drains; we're enhancing the comfort and efficiency of your home and business. With over 20 years of dedicated service in the Los Angeles area, we've built a reputation for solving the most challenging plumbing issues, from hot water inconsistencies to complex sewer problems. Our approach is centered on providing solutions that not only address your immediate concerns but also contribute to the long-term health and efficiency of your plumbing systems. This means less time worrying about plumbing problems and more time enjoying the peace of mind that comes with expert service.
We understand the disruption and discomfort that plumbing issues can cause, which is why we're committed to a service that goes beyond mere repairs. Our team offers a transformative experience, ensuring that every interaction not only solves your problem but also enhances your overall satisfaction. By choosing JMS Express Plumbing, you're choosing a partner who values your comfort and safety, offering reliable, clean, and professional service tailored to meet your specific needs. Let us take the worry out of your plumbing concerns, so you can focus on what matters most to you.
Frequently Asked Questions
What areas do you serve?
We proudly serve the entire Los Angeles area, including Woodland Hills, Sherman Oaks, Tarzana, Encino, and Beverly Hills. Our team is ready to address your plumbing needs wherever you are in LA.
Do you offer emergency services?
Yes, we understand that plumbing emergencies can't wait. Our team is available to provide prompt, efficient service to resolve your issue as quickly as possible.
How do I know if I need your services?
If you're experiencing inconsistent water temperatures, clogs, leaks, or any plumbing-related discomfort, it's time to call us. We offer free consultations to assess your needs and provide the best solutions.
What makes JMS Express Plumbing different?
Our commitment to building lasting relationships, our comprehensive service range, and our dedication to customer satisfaction set us apart. With JMS, you're not just getting a plumber; you're getting a plumbing partner.

Quick Links
Copyright © 2026 JMS EXPRESS PLUMBING. All Rights Reserved | Terms & Conditions | Privacy Policy | Blog
License #: 912236 (C36)
- Watch, Like & Subscribe
